A Step-by-Step Guide to Installing Roof Cladding
Roof cladding is a crucial component of any building, providing both aesthetic appeal and protection from the elements. Whether you’re a DIY enthusiast or a seasoned builder, installing roof cladding can be a rewarding project that enhances the durability and appearance of your home. In this guide, we’ll walk you through the process of installing roof cladding, from preparation to final touches.
Understanding Roof Cladding
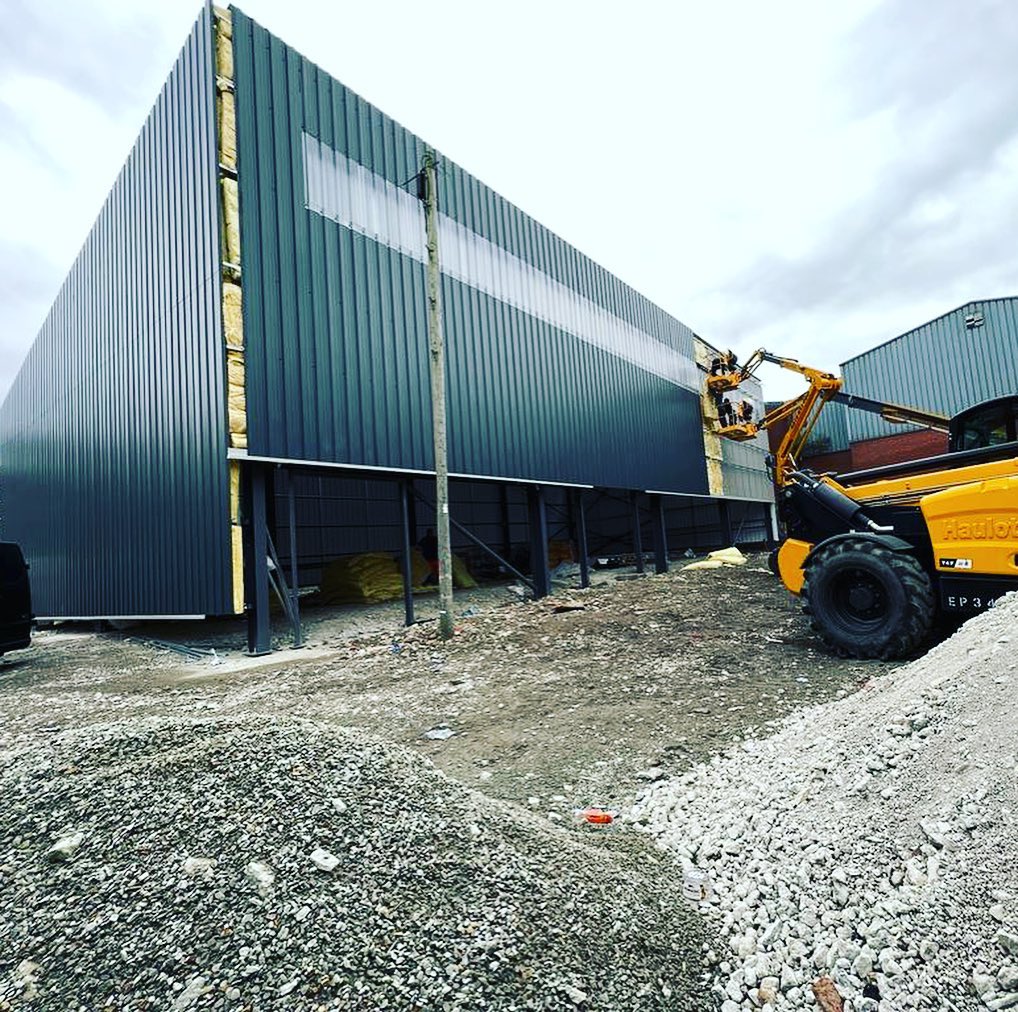
Before diving into the installation process, it’s essential to understand what roof cladding is and why it’s important. Roof cladding refers to the material that covers the roof structure, providing a weather-resistant layer that protects the interior of the building. Cladding materials vary widely, including options like metal, tiles, slate and shingles, each offering different benefits in terms of durability, insulation, and appearance.
Step 1: Choosing the Right Cladding Material
Selecting the appropriate cladding material for your roof is the first and most crucial step. Consider factors such as:
- Climate: If you live in an area prone to heavy rain, snow or strong winds, metal or slate might be a better option due to their durability.
- Aesthetics: Choose a material that complements the style of your home. For instance, tiles or shingles may offer a more traditional look, while metal provides a modern, sleek appearance.
- Budget: Some materials, like slate, can be more expensive, while others, like corrugated metal, are more cost-effective.
Step 2: Preparing the Roof Surface
Before you can install the cladding, you need to ensure that the roof surface is ready:
- Inspect the Roof Structure: Check for any damage or weaknesses in the roof’s structure. Replace or repair any damaged areas before proceeding.
- Clean the Surface: Remove any debris, old cladding or dirt from the roof surface. A clean, smooth surface is crucial for a successful installation.
- Install Underlayment: Apply a waterproof underlayment to the roof. This layer provides additional protection against water infiltration and helps prolong the life of your cladding.
Step 3: Measuring and Cutting the Cladding
Accurate measurement is key to a professional-looking installation:
- Measure the Roof: Measure the length and width of your roof, including any overhangs, to determine how much cladding material you’ll need.
- Cut the Cladding: Using your measurements, cut the cladding material to size. If you’re working with metal, use a metal shear or circular saw. For tiles or shingles, a utility knife or specialised cutter will suffice.
Step 4: Installing the Cladding
With everything prepared, it’s time to install the cladding:
- Start at the Bottom: Begin installation at the bottom edge of the roof and work your way up. This ensures that water flows over the cladding rather than seeping underneath.
- Fixing the Cladding: Depending on the material, you’ll either nail, screw or clip the cladding into place. Ensure each piece is securely fastened to prevent wind uplift.
- Overlap the Sheets: When installing sheets of cladding, overlap them slightly to create a watertight seal. Follow the manufacturer’s guidelines for the correct overlap distance.
- Seal the Edges: Apply sealant to the edges and any joints to prevent water ingress.
Step 5: Finishing Touches
After installing the cladding, there are a few final steps to complete the job:
- Install Ridge Caps: Place ridge caps along the roof’s peak. These cover the gap where the cladding sheets meet at the top of the roof, providing a finished look and additional weather protection.
- Check for Gaps: Inspect the roof for any gaps or exposed areas. Fill these with sealant or flashing as needed.
- Clean Up: Remove any debris, offcuts or tools from the roof to ensure a clean finish.
Maintenance Tips
Proper maintenance will extend the life of your roof cladding:
- Regular Inspections: Check your roof periodically for signs of damage or wear, especially after severe weather.
- Clean the Cladding: Remove any dirt, moss or debris from the cladding to prevent deterioration.
- Prompt Repairs: Address any issues, such as loose panels or broken tiles, immediately to prevent further damage.
Conclusion
Installing roof cladding is a significant project that can dramatically improve the appearance and functionality of your home. By following these steps and taking the time to choose the right materials, prepare the roof surface and carefully install each piece, you can ensure a durable, weather-resistant and aesthetically pleasing roof that will protect your home for years to come. Whether you’re a DIY novice or an experienced builder, this guide should give you the confidence to tackle your roof cladding project successfully.


